
Cricket bats are an essential piece of equipment for any cricketer, and a well-maintained bat can make all the difference in your performance on the field. However, over time, the constant impact of the ball, weather conditions, and regular use can lead to cracks and damage. In this blog, we will discuss the importance of cricket bat crack repair and guide you through the steps you can take to fix your bat and keep it in top condition for longer.
Wants to know about cricket bat restrictions.
Understanding Cricket Bat Cracks
Cracks in cricket bats are not uncommon, especially for players who regularly play competitive cricket. These cracks can occur in various places, such as the face, edges, or toe of the bat. The severity of the crack can vary, from small surface cracks to more significant splits that affect the bat’s performance.
Cricket bat crack repair is crucial because if left untreated, a crack can worsen over time, potentially leading to the bat breaking entirely. Cracks not only affect the aesthetics of the bat but can also impair its power and feel during play. This makes timely and proper repair essential for maintaining the bat’s functionality.
Common Causes of Cricket Bat Cracks
Before diving into the process of cricket bat crack repair, it’s important to understand what causes cracks in the first place. Here are some of the most common causes:
- Ball Impact: The frequent impact of the ball on the bat, especially if it’s hit off-center, can cause damage. Over time, repeated hits on the same area can lead to cracks forming on the bat’s face or edges.
- Improper Storage: Storing your bat in a damp or excessively dry environment can weaken the wood and make it more prone to cracking. Always store your bat in a cool, dry place to prevent moisture damage.
- Poor Maintenance: Cricket bats require regular care, such as oiling and knocking-in. Failing to maintain your bat properly can cause the wood to lose its resilience and become more vulnerable to cracks.
- Overuse: Using the same bat for extended periods without adequate rest can cause wear and tear, increasing the chances of cracks forming.
When to Repair Your Cricket Bat
Not all cracks require immediate attention, but it’s important to know when it’s time for cricket bat crack repair. If you notice the following signs, it’s time to act:
- Visible Cracks: If you notice any visible cracks, especially if they are deep or spreading, it’s best to get the repair done before the bat becomes unusable.
- Loss of Performance: If you feel a reduction in power or responsiveness when hitting the ball, this could be due to internal damage that needs repair.
- Sound Change: A change in the sound of the bat when hitting the ball is another indication that a crack might have formed inside the bat.
How to Repair Cricket Bat Cracks
Cricket bat crack repair can be done at home or by a professional bat repair service. Here’s a step-by-step guide for repairing minor cracks yourself:
1. Assess the Damage
Before starting, examine the crack closely. If it’s a minor surface crack, you can attempt to repair it at home. However, if the crack is deep or located in a critical area, such as the blade or handle, it’s best to consult a professional for cricket bat crack repair.
2. Clean the Crack
Use a clean cloth to wipe away any dirt, dust, or moisture around the crack. This ensures a proper seal when you apply glue or adhesive.
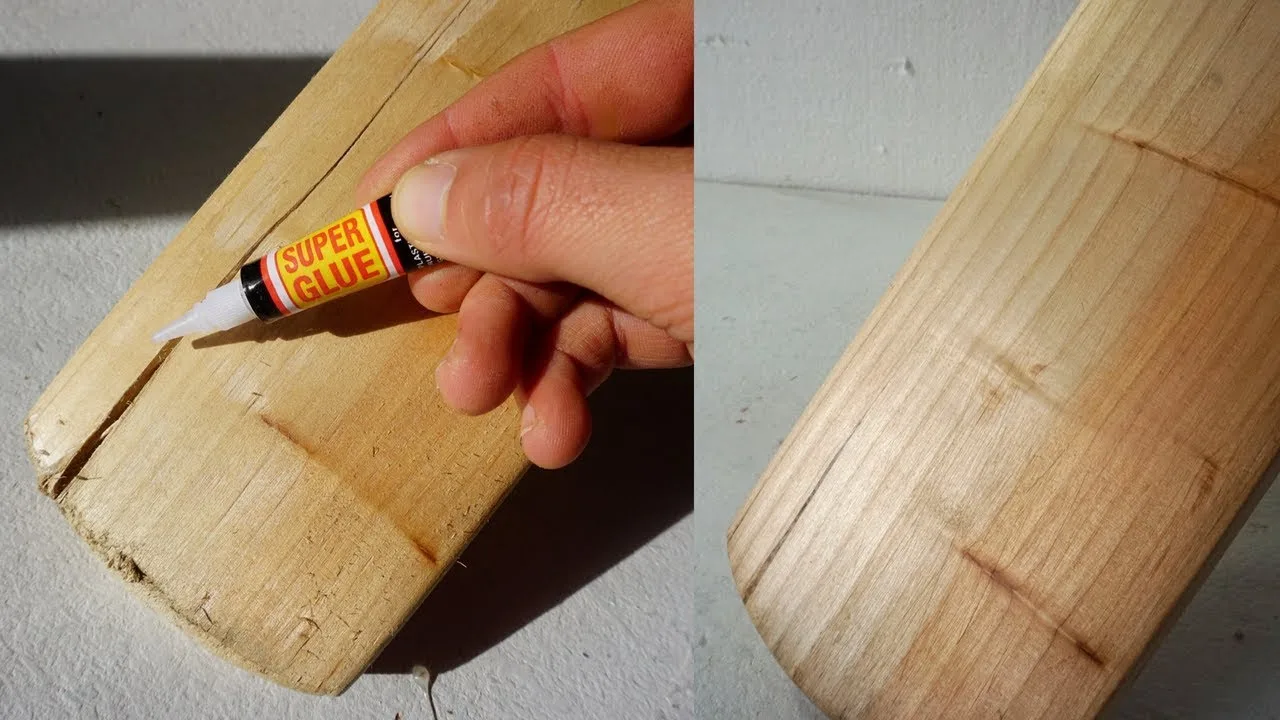
3. Apply Wood Glue
For surface cracks, apply a thin layer of high-quality wood glue to the crack. Make sure the glue seeps into the crack to strengthen the bond. Use a small applicator or a toothpick to apply the glue carefully.
4. Secure the Crack
Once the glue is applied, press the cracked sections together and use clamps or tape to hold them in place. Leave the bat to dry for at least 24 hours to allow the glue to set properly.
5. Sand the Repair Area
After the glue has dried, gently sand the repair area using fine sandpaper. This will smooth out any rough edges and ensure that the bat retains its original shape and finish.
6. Re-oil the Bat
After completing the repair, it’s important to re-oil the bat to prevent it from drying out. Apply a thin layer of linseed oil to the entire bat, focusing on the areas around the repair.
7. Knock-In the Bat Again
If the crack was significant, it may have affected the bat’s structural integrity. To ensure the bat is in top condition, it’s important to knock in the bat again. Use a mallet to gently strike the face and edges of the bat, gradually building up the resilience.
Professional Cricket Bat Crack Repair
While cricket bat crack repair is essential, prevention is always better than cure. Here are some tips to help you avoid cracks in the future:
- Regular Maintenance: Oiling and knocking in your bat will keep it in top condition.
- Proper Storage: Store your bat in a protective case and avoid exposing it to extreme weather conditions.
- Use the Right Bat for the Right Conditions: Avoid using the bat on excessively hard surfaces or in very humid conditions, which can cause cracking.


 No products in the cart.
Comments (2)